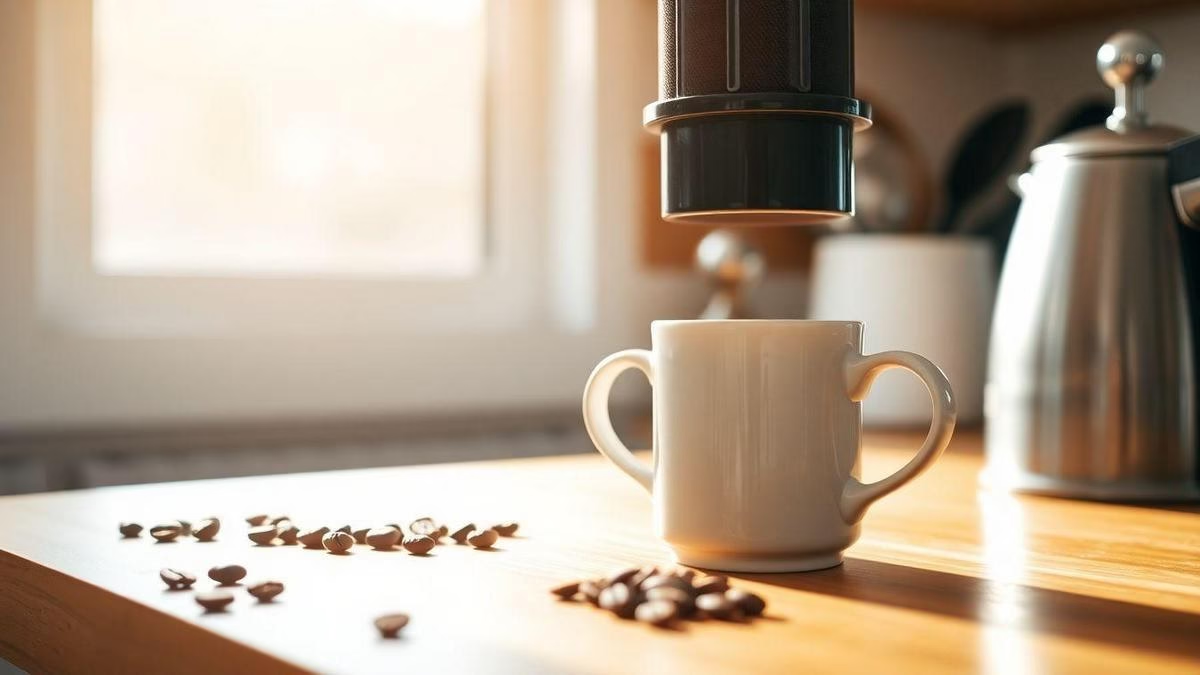
Best AeroPress Brewing Tips for Beginners at Home
You will get a fast, simple guide to set up your AeroPress, know each part, and how they fit. You will learn how to measure coffee and water and use the right ratio like one-to-fifteen to one-to-seventeen for regular cups. You will get a step-by-step first brew checklist, what grind to try (medium‑fine works), how roast and freshness change taste, quick grind tests, and how to control temperature and time for bold or mild cups. You will see three easy methods including inverted, learn filters, and get quick cleaning and fix tips to stop weak or bitter cups.
Key Takeaway
- Use fresh, recently ground coffee for your best cup.
- Grind to a medium-fine texture so your brew extracts evenly.
- Use water that is hot but not boiling for your cup.
- Rinse the filter so you don’t get a paper taste.
- Press slowly and stop when you feel resistance for a smooth finish.
How to set up your AeroPress for simple, fast coffee
Setting up your AeroPress is quick and satisfying—no pile of gadgets needed. Start with clean equipment and a stable surface. For official assembly and method guidance, see Official AeroPress instructions and parts. The AeroPress is compact and forgiving, so you can make a great cup even on your first try.
Think of the AeroPress like a tiny espresso lab: you control grind size, water, and time, letting you dial in flavor fast. Both the standard and inverted methods make strong, clean coffee; the difference is mostly how you handle bloom and steep time. Try both and stick with what fits your routine. These are some of the Best AeroPress Brewing Tips for Beginners at Home: start simple, time your brew, and adjust one thing at a time.
What parts you need and how they fit (AeroPress beginner guide)
Your AeroPress kit has a few parts: the chamber, plunger, filter cap, paper filters, and a stirrer. The chamber holds coffee and water; the plunger creates pressure to push coffee through the filter; the filter cap screws onto the chamber and holds the filter in place. For an accessible overview of parts and design, see AeroPress parts, history, and design overview.
Filters matter: paper filters give a clean cup by trapping oils and fines; metal filters give more body and oils. Insert the paper filter into the cap, wet it, attach the cap to the chamber, and you’re ready to brew.
| Part | What it does | How it fits |
|---|---|---|
| Chamber | Holds coffee and water during steep | Plunger slides into it |
| Plunger | Creates pressure to push liquid through | Fits snug inside chamber |
| Filter cap | Holds filter and directs flow | Screws onto chamber bottom |
| Paper filter | Traps oils and fine solids | Placed inside filter cap |
| Stirrer/scoop | Mixes coffee and measures dose | Use scoop for grams or tbsp |
How to measure coffee and water just right (AeroPress coffee-to-water ratio)
Start with about 1:15 by weight (1 g coffee to 15 g water). For AeroPress that often means 14–18 g coffee to about 220–270 g water. If you don’t have a scale, one AeroPress scoop (≈14–17 g) works fine with 200–240 ml water. Keep measurements consistent so you can tweak and learn. For broader brewing ratio guidance and measuring tips, check Brewing ratios, methods, and foundational tips.
Grind size and time affect strength as much as ratio. Use a medium-fine grind—finer than drip, coarser than espresso. Stir well for the first 10–15 seconds to wet grounds evenly. If the cup tastes weak, use more coffee or a finer grind. If it’s bitter, try less time, coarser grind, or a bit less coffee.
Tip: If you want a quick baseline, try 16 g coffee, 240 g water, medium-fine grind, 1-minute steep, then press. Adjust from there.
Step-by-step first brew checklist for your first cup
Set up: rinse the paper filter, add 16 g medium-fine coffee to the chamber, pour 240 g water at ~93°C, stir 10–15 seconds, wait 45–60 seconds, then press slowly for 20–30 seconds. Serve and taste. Clean up takes less than a minute—pop out the puck, rinse the parts, and you’re done.
“A short boil, a careful pour, and a small ritual can make a big morning.”
Choose the right grind and beans to make better coffee
You control most of the taste with grind size and the beans you pick. For AeroPress, that combo decides brightness, bitterness, or smoothness. Choose beans to match the flavor you want—fruity light roasts for brightness, medium roasts for balance, darker roasts for chocolatey notes—and match the grind so extraction stays even.
Grind consistency matters more than perfect size. A consistent medium-fine helps water pull the right flavors during the short AeroPress contact time. A burr grinder helps, but you can still get good results if you test and tweak.
Freshness is part of the secret sauce. Coffee roasted in the last two to three weeks usually tastes livelier; beans that sit for months go flat. Store beans in a cool, dark place and grind just before brewing. Follow the Best AeroPress Brewing Tips for Beginners at Home and you’ll see how small tweaks in bean age and grind make a big jump in taste.
Why medium-fine grind works for most AeroPress uses (AeroPress grind size)
AeroPress gives short brew time and gentle pressure. Medium-fine hits the sweet spot: small enough for good extraction in 1–2 minutes, but not so fine you get sludge or hard resistance when pressing. This balance yields clarity without harsh bitterness.
Finer or coarser adjustments work if you change brew time or water temperature. Finer shorter time → espresso-like. Coarser longer steep → cleaner, tea-like. Keep notes and taste the changes.
How bean roast and freshness change the taste (AeroPress tips for beginners)
Roast level shifts flavors: light roasts show acidity and fruit notes; medium roasts bring balance and sweetness; dark roasts lean chocolatey and smoky. AeroPress often highlights these subtleties, so pick a roast that matches what you enjoy.
Fresh beans give a brighter, more aromatic brew. Let beans rest a few days after roast to degas, but use within three weeks for best lift. Pre-ground coffee loses vibrancy; grinding just before brewing is one of the fastest improvements you can make.
Tip: If you only have a blade grinder, pulse in short bursts and use the middle-ground portion for better consistency.
Quick grind tests you can try at home to find the best size
Three fast tests:
- Pinch test: medium-fine feels like table salt; fine feels powdery; coarse like kosher salt.
- Brew 1:15 for 1 minute; sour → finer, bitter → coarser.
- Try ±10–20% steep time and compare. Change one variable at a time.
| Grind size | Feel (pinch) | Typical AeroPress contact | Taste result |
|---|---|---|---|
| Fine | Powdery | 30–60 sec | Intense, can be bitter if overdone |
| Medium-fine | Table salt | 45–90 sec | Clear, balanced — great default |
| Medium | Slightly coarse | 60–120 sec | Milder, cleaner cup |
| Coarse | Kosher salt | 90 sec | Under-extracted if contact too short |
Control water temperature and brew time for the flavor you want
Water temperature and brew time are the main knobs to pull out brightness, sweetness, or body. Start simple: pick a temperature and time, write them down, then tweak one thing at a time. Temperature speeds extraction; time lengthens it. Grind, dose, and agitation also matter, but focusing on temp and time first will teach you fast. For technical guidance on extraction and water temperature, consult SCA resources on brewing and extraction principles.
Treat temperature and time like radio knobs: a nudge can change the whole song.
Best water temperatures to try and why (AeroPress water temperature)
- 80–86°C (175–187°F): highlights floral and fruit notes, reduces bitterness—great for bright single-origins.
- 90–96°C (194–205°F): brings body, chocolate, and caramel forward—good for darker roasts or beans that feel thin.
Callout: Try 85°C (185°F) for a balanced cup and 92°C (198°F) for more body. Note the taste, then nudge only one setting next brew.
How long to brew for bold or mild cups (AeroPress brew time)
- Short steeps (30–60 sec) with medium-fine grind → clean, bright cup.
- Longer steeps (90–180 sec) → more weight, sweetness, and potential bitterness; use coarser grind or lower temp to avoid harshness.
- For espresso-like intensity: 90–120 seconds total immersion and a firm plunge.
| Temperature range | Flavor result | Suggested AeroPress steep time |
|---|---|---|
| 80–86°C (175–187°F) | Bright, floral, fruity | 30–60 seconds |
| 87–92°C (189–198°F) | Balanced, syrupy, sweet | 60–90 seconds |
| 93–96°C (199–205°F) | Full body, chocolate, caramel | 90–180 seconds |
Simple timers and thermometer tips to keep you consistent
Use your phone timer and a small digital thermometer or a kettle with presets. If no thermometer, let boiling water sit ~30 seconds to hit ~92°C, ~60 seconds for ~85°C—test once to learn your kettle. Pre-rinse the AeroPress and cup with hot water to avoid heat loss, and write each try down.
Use the right coffee-to-water ratio to hit your sweet spot
Ratio controls strength and how flavors come out. Start with a target, brew, and taste. If weak, add coffee; if harsh, reduce coffee or coarsen grind. Small changes—one gram at a time—are easiest to notice.
Many beginners find a sweet spot quickly by trying set ratios and keeping notes. This is why the Best AeroPress Brewing Tips for Beginners at Home often emphasize consistent amounts and repeatable steps.
Try common ratios like 1:15 to 1:17 for regular coffee (AeroPress coffee-to-water ratio)
A good starting range is 1:15 to 1:17 (coffee:water). 1:15 → fuller body; 1:17 → lighter and cleaner. Use a digital scale for repeatable results.
| Ratio | Coffee (g) | Water (g) | Notes |
|---|---|---|---|
| 1:15 | 15 g | 225 g | Fuller body, good for darker roasts |
| 1:16 | 15 g | 240 g | Balanced, easy starting point |
| 1:17 | 15 g | 255 g | Cleaner, highlights acidity |
How to scale recipes for more cups or a stronger concentrate (AeroPress recipes)
Multiply coffee and water by the same factor to scale. For a concentrate, aim for 1:4 to 1:6 coffee:water, then dilute to taste. Keep grind, time, and technique consistent.
Easy scales and scoop guides for accurate pours at home
A small kitchen scale is best. A level tablespoon is ~5–7 g; the AeroPress scoop is ~14–17 g depending on grind. One extra scoop changes the cup a lot—weigh once, write it down, and stop guessing.
Tip: If you buy one small scale, you’ll cut guesswork and dial in flavors fast.
Pick a brewing method that fits your taste and routine
AeroPress offers options: fast and bright, or slow and syrupy. Choose what fits your time and taste. Best AeroPress Brewing Tips for Beginners at Home often start with choosing between quick mornings and slow weekends.
Try each style a few times and keep notes on grind, dose, and time. After a few tries you’ll know which method is comfortable and reliable.
When to use the inverted AeroPress method and its benefits
Use inverted when you want fuller body and more extraction control. With the plunger on top, grounds are fully immersed and can steep without dripping, which pulls out more oils and sugars for a heavier, sweeter cup. Great for experimenting toward espresso-like intensity.
How the standard method saves time on cleanup
The standard method wins on speed and tidiness. Assemble with the filter cap on, pour, stir, and plunge. The puck usually ejects neat, and cleanup is a quick rinse—perfect for busy mornings. It also reduces spill risk compared to inverted.
Try three simple methods with step times to compare results
Use the same beans to isolate the method and note changes in body, acidity, and sweetness.
| Method | Grind size | Coffee (g) | Water (ml) | Steep time | Total time | Expected taste |
|---|---|---|---|---|---|---|
| Standard quick press | Medium | 14 | 200 | 30 sec | ~1 min | Clean, bright, quick |
| Inverted short immersion | Medium-fine | 15 | 240 | 90 sec | ~2 min | Balanced, fuller body |
| Inverted long immersion | Fine-medium | 16 | 220 | 3 min | ~3.5 min | Rich, syrupy, bold |
Tip: Taste each cup side by side. Small changes in grind or time will show up clearly—write one line per cup so your memory stays honest.
Filters, recipes, and care to keep your AeroPress working great
Use fresh beans, grind right before brewing, and match grind size to the filter you pick. For a clean, bright cup, use a paper filter; for more body and oils, use a metal filter and a slightly coarser grind.
Keep notes: grind, grams, water temp, and steep time. Recipes can be short: 15–18 g coffee, 200 ml water, 90–95°C, stir 10 seconds, plunge slowly. Or invert for a fuller brew with a 60–90 second steep before pressing.
Care: after use, pop out the puck and rinse the chamber. Weekly, wash the plunger seal and ring with warm water and dish soap. Replace paper filters regularly and the rubber seal after many months if it tears or slips. Store dry and away from strong smells.
Paper vs metal filter: how they change body and oils
Paper filters trap most oils and fines → brighter, cleaner cup. Rinse paper first to remove papery flavor. Metal filters pass more oils and micro-fines → thicker mouthfeel and more texture; they last longer but need occasional deep cleaning.
| Feature | Paper Filter | Metal Filter |
|---|---|---|
| Body | Clean, lighter | Fuller, heavier |
| Oils | Mostly removed | Passed through |
| Sediment | Minimal | Some micro-fines |
| Cleanup | Easy, disposable | Reusable, needs rinsing |
| Best for | Bright, delicate | Rich, bold cups |
Quick cleaning and storage tips so your coffee stays fresh
Rinse right after brewing and the puck slides out easily. Use warm water and a soft sponge—no bleach. For deeper cleaning, soak filter cap and metal filter in 1:4 vinegar:water for 15 minutes, rinse well, and air dry. Keep the silicone seal and plunger free of oils so the vacuum works smoothly. Store dry and away from strong odors.
Tip: For “Best AeroPress Brewing Tips for Beginners at Home,” a useful baseline is 1:13 (grams coffee to water) to learn sensitivity quickly—then adjust.
Common problems and fixes for weak, bitter, or slow cups
- Weak: add more coffee or use a finer grind.
- Bitter: lower water temp or shorten contact time.
- Slow press: check for too-fine grind or compacted bed—try a coarser grind or a gentle stir to break channels.
- Check the seal: air leaks change extraction. Adjust one thing at a time and taste after each tweak.
Best AeroPress Brewing Tips for Beginners at Home — Quick Recap
- Use fresh beans, grind just before brewing, and start with 15–16 g coffee to 225–240 g water (≈1:15–1:16).
- Medium-fine grind is a reliable default.
- Try 85°C for balance, 92°C for more body.
- Short steep for clarity (30–60s), longer for body (90–180s).
- Rinse paper filters, press steadily, and clean the parts after use.
- Keep notes and change only one variable at a time.
Conclusion
You’re now set to brew with confidence. Keep the basics in mind: use fresh beans, a consistent grind, and a sensible ratio. Small changes to temperature and time will steer the cup more than you think.
Treat the AeroPress like a tiny lab: tweak one knob at a time — grind, then time, then water — and write your notes. Short steeps for brightness. Longer steeps for body. The inverted and standard methods are different tools; pick the one that fits your rhythm.
Rinse the filter, press steadily, and clean the parts. A clean seal and dry storage mean fewer surprises and a better cup. Play, taste, and repeat. You’ll be dialing in cups that make your morning sing before you know it.
Want more quick wins and recipes? Read more articles at https://guiabebefeliz.com.

Rafael Souza is a digital marketing specialist and passionate coffee enthusiast. He founded Guiabebefeliz to share practical, easy-to-follow guides for making great coffee at home without needing professional barista skills. His mission is to help readers enjoy better coffee experiences, one cup at a time.


