The Allure of the Homemade Latte
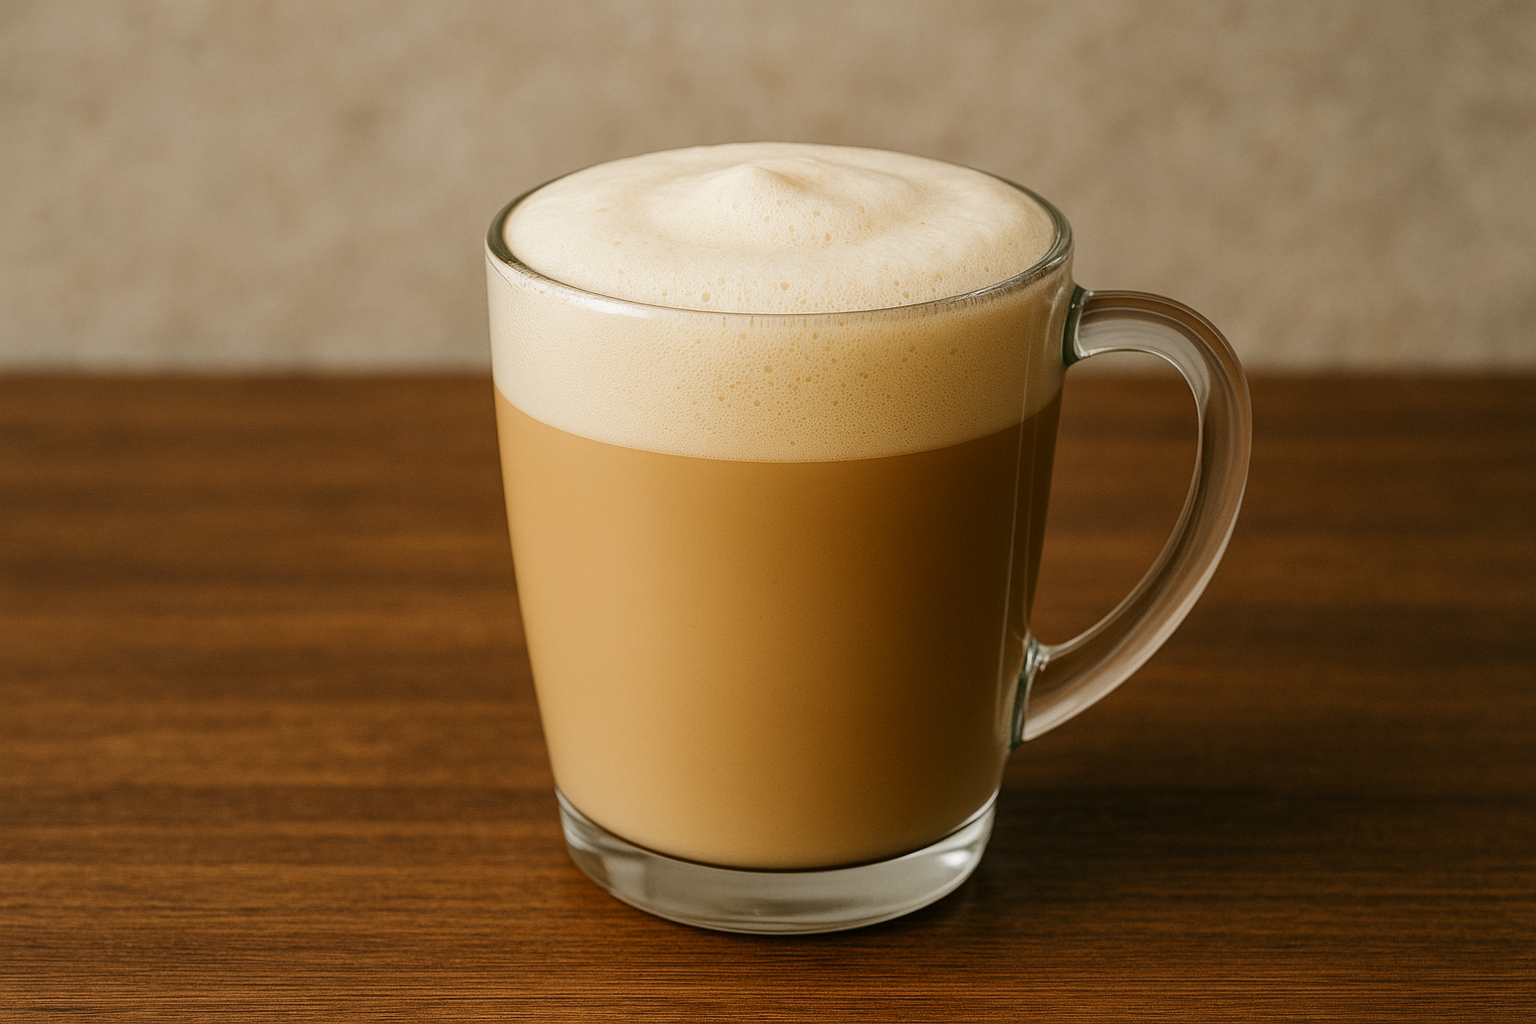
The latte—smooth, comforting, rich in flavor—is one of the most popular coffee drinks around the world. Traditionally made with a shot (or two) of espresso and steamed milk, it’s the go-to choice for those who enjoy coffee with a creamy twist. But here’s the good news: you don’t need an expensive espresso machine to make a delicious, frothy latte at home.
With just a few tools and a bit of know-how, you can create a barista-style latte using what you already have in your kitchen. In this guide, we’ll break down exactly how to do it—from choosing the right coffee and milk to getting that irresistible froth—without sacrificing taste or texture.
What Is a Latte?
Before we dive into the “how,” it’s important to understand what a latte is. The word “latte” comes from the Italian phrase caffè latte, meaning “milk coffee.” A classic latte is composed of:
- 1/3 espresso
- 2/3 steamed milk
- A thin layer of milk foam on top
When made without an espresso machine, the challenge is twofold:
- Brewing strong enough coffee to mimic espresso
- Steaming or frothing the milk without steam wands
Luckily, both can be done with common kitchen tools—and the result can be surprisingly close to the real thing.
What You’ll Need
For the Coffee:
- Fresh ground coffee (medium-dark to dark roast recommended)
- A strong brewing method:
- French press
- AeroPress
- Moka pot
- Drip machine with double brew
- Instant espresso (as a last resort)
For the Milk:
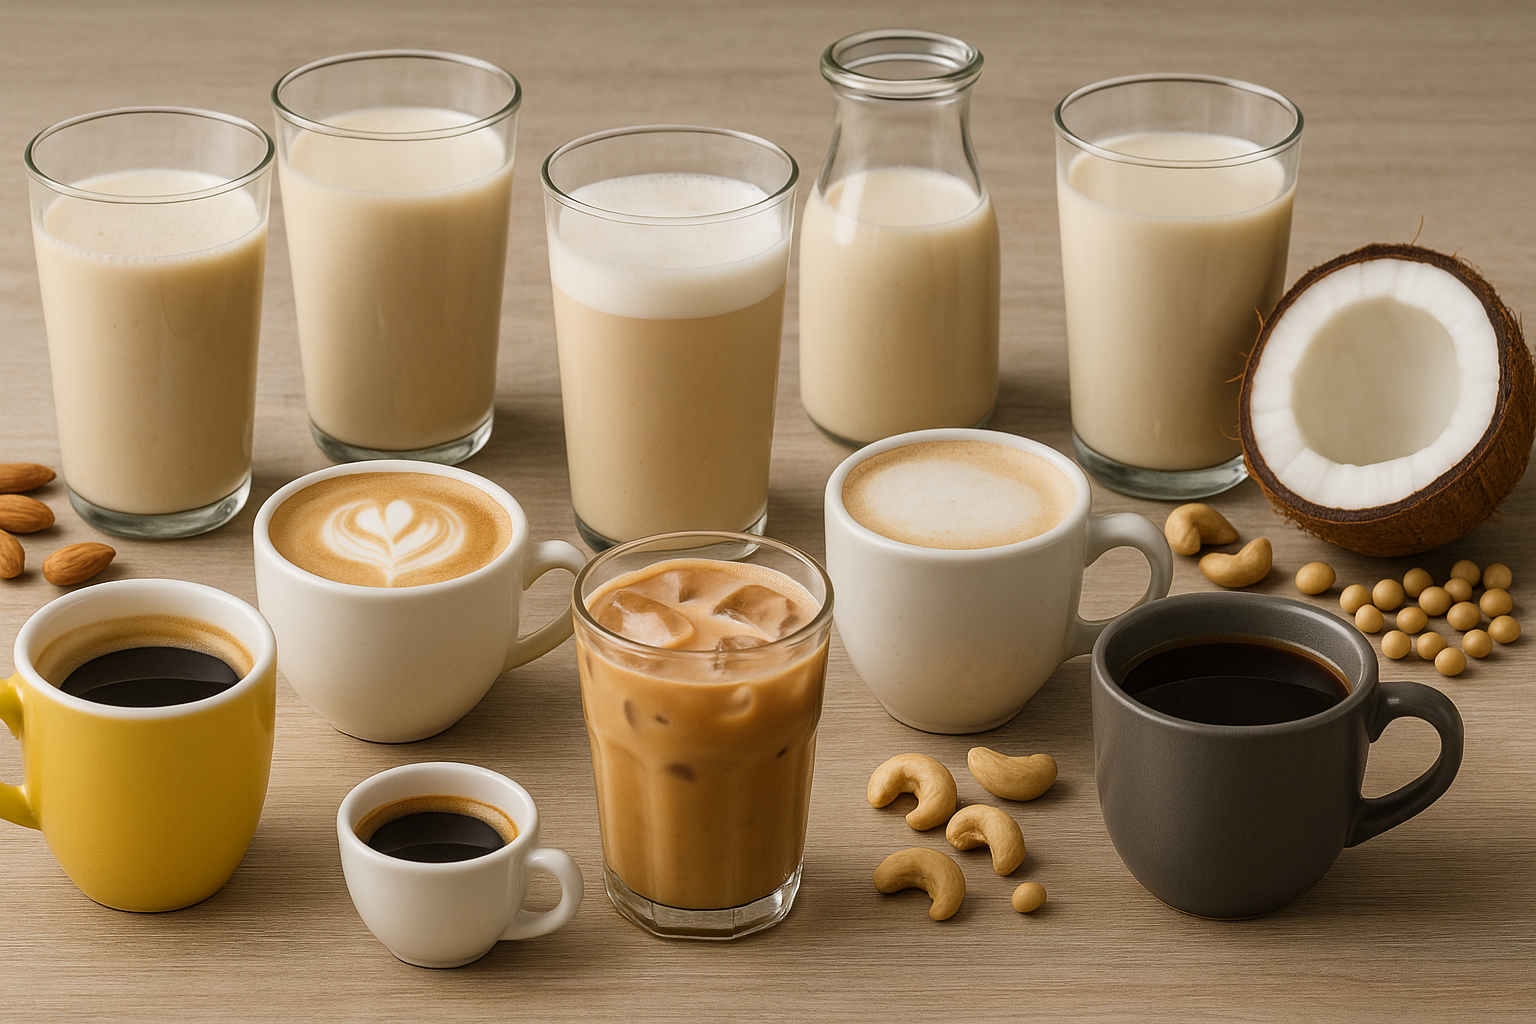
- Any milk of your choice: whole milk froths best, but oat milk, almond milk, and soy milk are great dairy-free options.
- Milk frother options:
- Handheld frother
- French press
- Mason jar
- Whisk
- Blender
Optional Additions:
- Sweetener (sugar, honey, maple syrup)
- Flavored syrups (vanilla, caramel, hazelnut)
- Cinnamon or nutmeg for dusting
Step 1: Brew a Strong Coffee Base
Since a latte requires espresso—which is highly concentrated—you’ll want to use a method that can mimic its boldness. Here are your best bets:
Option A: Moka Pot
A stovetop Moka pot is often called a “poor man’s espresso maker” for good reason. It uses pressure to brew a strong, concentrated coffee.
Brew Time: 5–7 minutes
Flavor: Rich, slightly bitter, espresso-like
Option B: AeroPress
Use the inverted method and a fine grind to create a strong coffee concentrate.
Brew Time: 2–3 minutes
Flavor: Clean, strong, full-bodied
Option C: French Press (Double Brew)
Make the coffee stronger by using double the grounds (around 1:10 ratio).
Brew Time: 4–5 minutes
Flavor: Bold and textured
Option D: Drip Coffee (Double Brew)
Brew your coffee twice by pouring the first batch back through fresh grounds.
Brew Time: 8–10 minutes
Flavor: Stronger than average, but less crema
Option E: Instant Espresso
Convenient, but less complex in flavor. Choose a high-quality brand like Nescafé Gold Espresso or Medaglia d’Oro.
Step 2: Heat and Froth the Milk
Best Milk for Frothing
- Whole milk: creates the creamiest, richest foam
- 2% milk: lighter, but still froths well
- Skim milk: makes the most foam, but it’s dry and airy
- Oat milk: top choice for vegans—froths beautifully
- Almond milk: good texture but can separate
- Soy milk: thick, creamy froth—just don’t overheat it
How to Froth Without a Machine
Method 1: French Press (Best for Microfoam)
- Heat milk to about 150°F (65°C) (hot but not boiling).
- Pour milk into the French press—fill no more than halfway.
- Pump the plunger up and down vigorously for 20–30 seconds.
- Let the foam settle for a few seconds before pouring.
Method 2: Mason Jar
- Pour milk into a microwave-safe jar (half full).
- Shake the jar for 30 seconds until frothy.
- Microwave for 30–45 seconds. Foam will rise to the top.
Method 3: Hand Whisk or Electric Frother
- Heat milk on the stove or microwave.
- Use a whisk or frother to whip until you get a light foam.
Method 4: Blender
- Blend warm milk on high for 20–30 seconds.
- Let foam rise and settle.
Step 3: Assemble Your Latte
Now comes the fun part: putting it all together!
- Pour your brewed coffee into a mug (about 1/3 of the cup).
- Slowly add the steamed milk, tilting the cup slightly to mix.
- Spoon the foam on top for that classic latte finish.
- (Optional) Add sweeteners or flavored syrups.
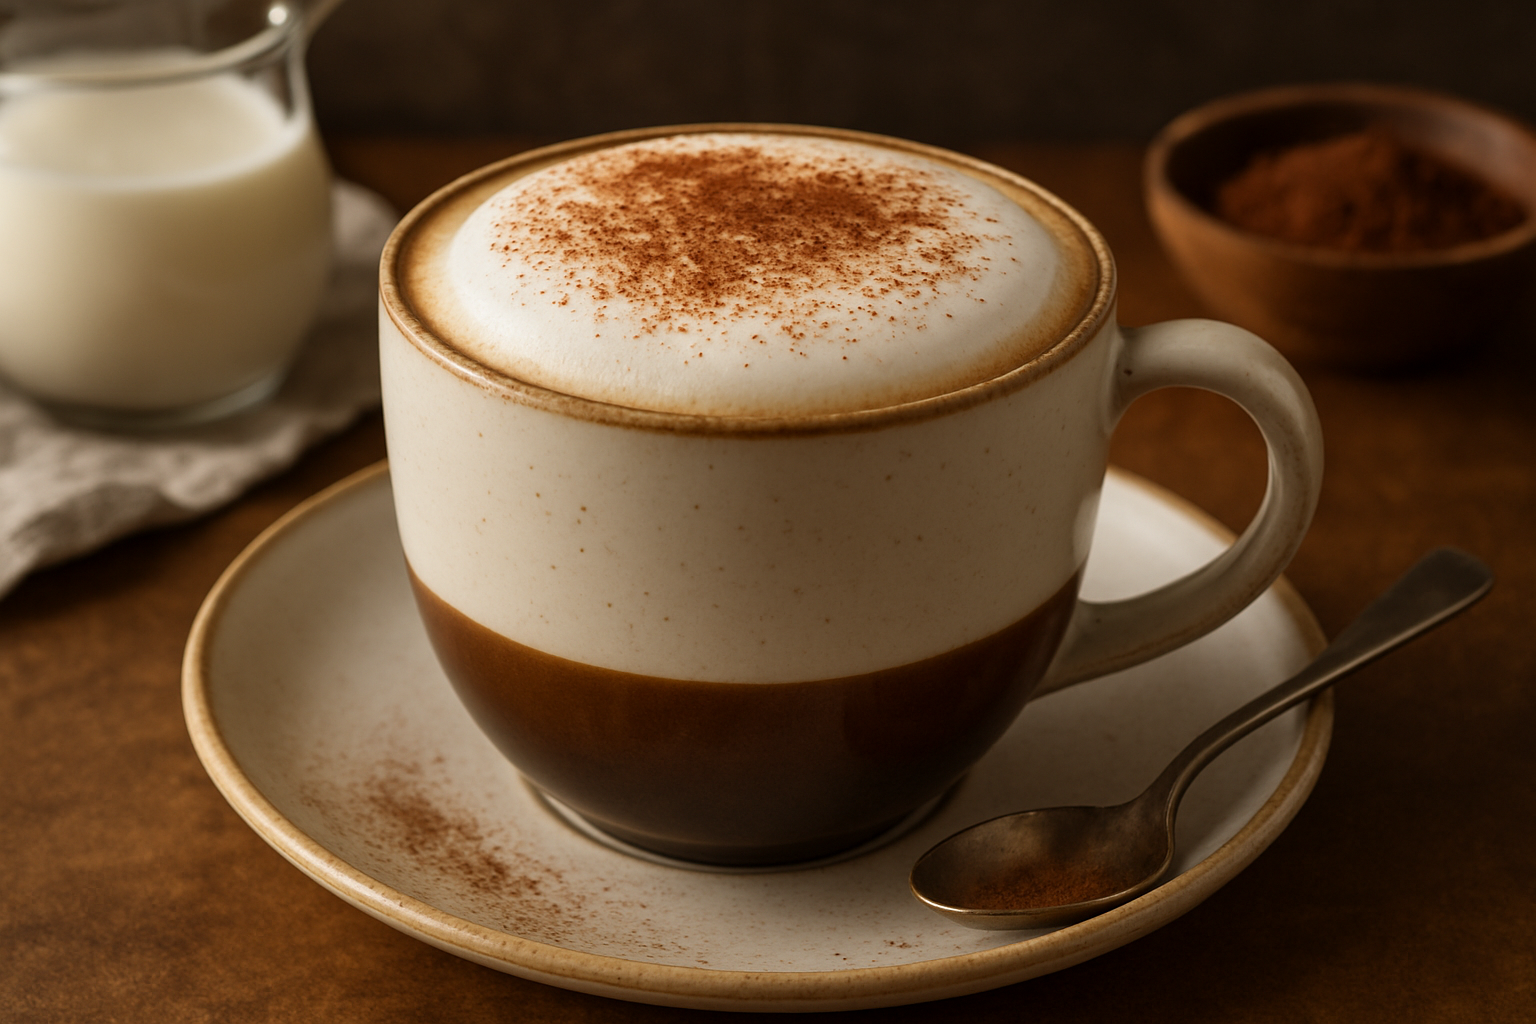
- (Optional) Sprinkle cinnamon, nutmeg, or cocoa powder for garnish.
That’s it—your homemade latte is ready!
Bonus: Easy Flavor Variations
- Vanilla Latte: Add 1 tsp vanilla extract or syrup before the milk
- Caramel Latte: Drizzle caramel into the mug before adding coffee
- Mocha Latte: Stir in 1 tbsp cocoa powder and 1 tsp sugar
- Spiced Latte: Add ground cinnamon, ginger, or pumpkin spice
- Honey Cinnamon Latte: Mix 1 tsp honey and a dash of cinnamon
These variations make your drink feel like a café treat with almost no extra effort.
Pro Tips for the Perfect Homemade Latte
1. Use Freshly Ground Coffee
Pre-ground coffee loses flavor quickly. If you can, grind fresh right before brewing.
2. Don’t Overheat the Milk
Milk should be steamed to 150–160°F (65–70°C). Too hot, and it scorches—ruining the sweetness and texture.
3. Let the Foam Settle
After frothing, let your milk sit for 20–30 seconds to stabilize. This gives you cleaner layering.
4. Clean Your Frothing Tool Immediately
Milk residue dries quickly and can damage tools or change taste next time.
5. Use a Thermometer (Optional but Helpful)
If you’re serious about nailing the temperature, invest in a simple kitchen thermometer.
Is It the Same as a Café Latte?
Technically, a true latte requires high-pressure espresso and steam-injected milk. But with strong brewed coffee and well-frothed milk, you can come very close.
While your version won’t have the crema from espresso or that silky microfoam from a steam wand, it will absolutely satisfy your latte cravings, especially with a little practice.
Common Mistakes to Avoid
- Using regular drip coffee without increasing strength
- Adding cold milk or foam directly to the coffee
- Overheating the milk (it becomes flat and scorched)
- Skipping the foam (that’s what makes it a latte!)
- Using too much milk (a latte isn’t a milkshake)
By avoiding these small mistakes, your homemade latte can reach a whole new level of quality.
When to Serve a Homemade Latte
- Morning kickstart: A mellow but energizing way to start the day
- Afternoon break: Creamy and satisfying without too much caffeine
- Guest treat: Impress visitors with café-style drinks
- Evening indulgence: Use decaf or herbal coffee to wind down
Final Words: Latte Like a Pro (Without the Machine)
Creating a frothy, satisfying latte without an espresso machine is not only possible—it’s deliciously easy. With just a strong coffee base and properly frothed milk, you can sip your way to barista-level satisfaction from the comfort of your own kitchen.
Whether you’re looking to save money, avoid long café lines, or just enjoy the ritual of home brewing, a DIY latte is a delightful way to elevate your coffee game.
So grab your French press, mason jar, or whisk, and start experimenting. Once you’ve mastered the basics, the flavor possibilities are endless.

Rafael Souza is a digital marketing specialist and passionate coffee enthusiast. He founded Guiabebefeliz to share practical, easy-to-follow guides for making great coffee at home without needing professional barista skills. His mission is to help readers enjoy better coffee experiences, one cup at a time.


